



Expense Management
Automate expense management without compromising control
Improve your finance operations with our integrated expense management solution. Use instant corporate cards, streamlined claims, and robust spend controls to optimise processes, gain real-time visibility, and ensure in-policy spending.
Trusted by 50,000+ modern businesses
4.5 rating









For happier employees, managers, and finance teams

Empower your team with spend management system
Equip your team with unlimited corporate cards, democratising purchases for faster, secure, and distributed procurement to contribute towards streamlined expense management
Real-time control over business spending
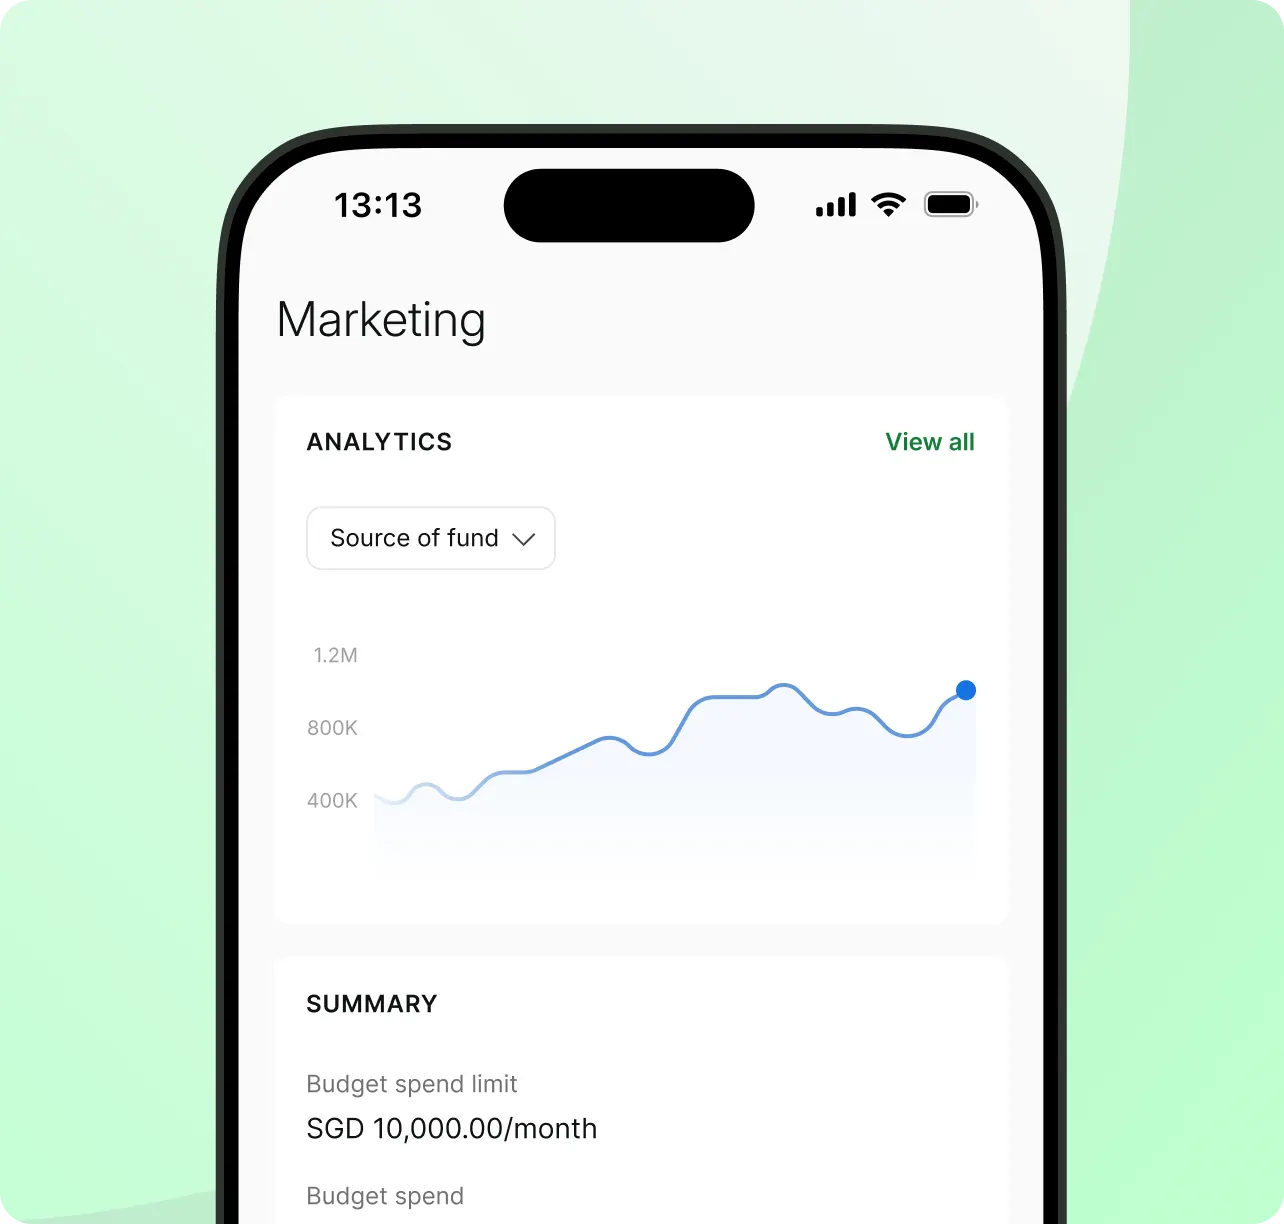
Effortlessly monitor all spending across cards and claims in real-time. Ensure in-policy spending with built-in controls to keep expense in check

Automate expense reconciliation
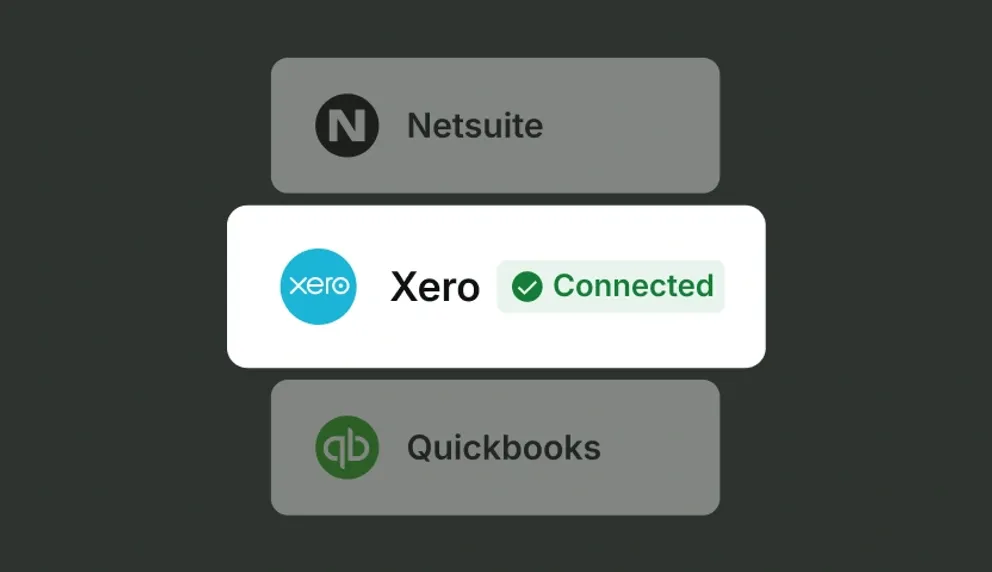
Eliminate manual admin for the entire team with centralised software and powerful accounting automation that drastically streamlines expenses
Eliminate the hassle of manual work
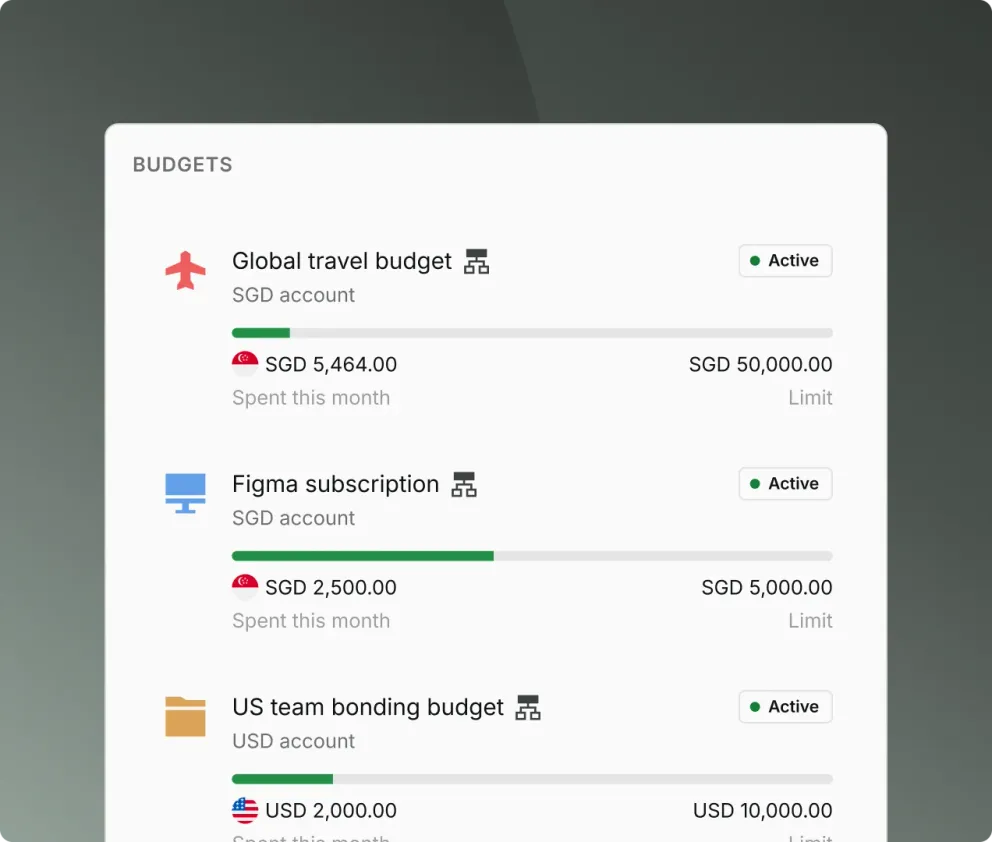
Keep spending organised with budgets and spend policies
Structure
Budget owners can add budget members to manage spending within their own teams or projects
Delegate
Empower owners to manage their own team spending limits
Audit
Ensure 100% policy compliance with instant spend visibility
Issue corporate cards for greater expense control
Scale
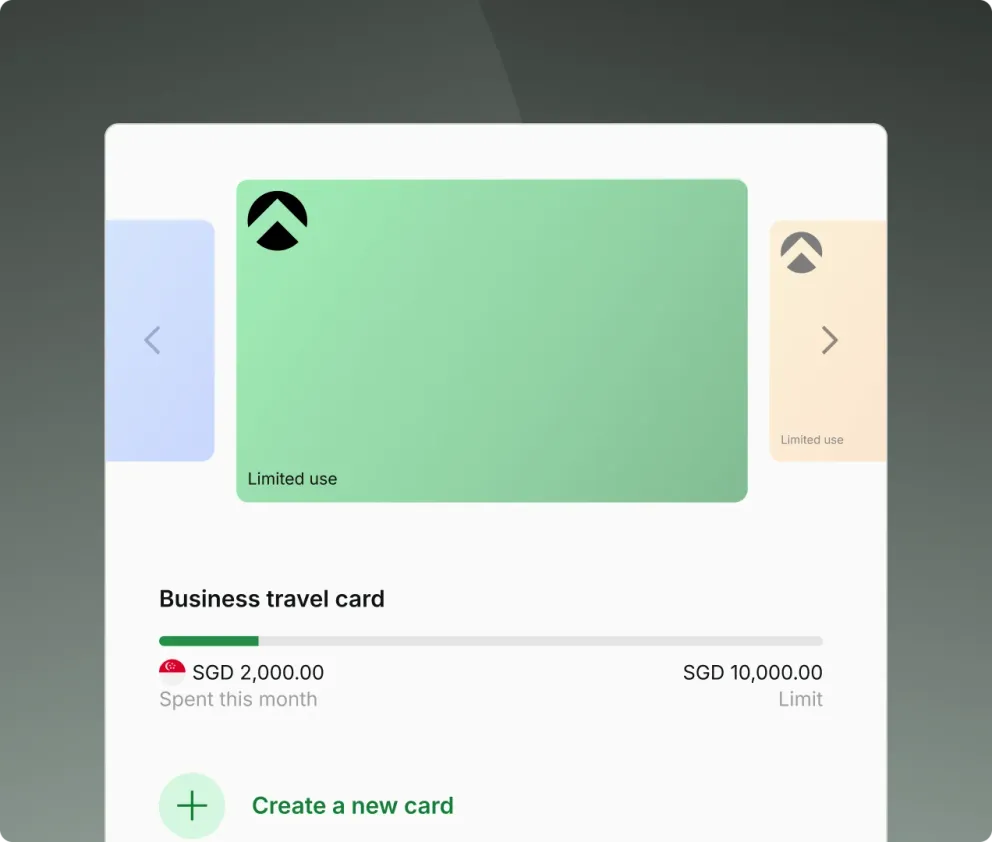
Keep card spend in policy with adjustable spend limits and merchant locks. Update settings, freeze, or cancel cards anytime
Govern
Eliminate the need for time-consuming out-of-pocket reimbursements.
Optimise
Eliminate reimbursements while earning 1.2% unlimited cashback and saving on FX
Make expense claims painless for the entire team
Submit
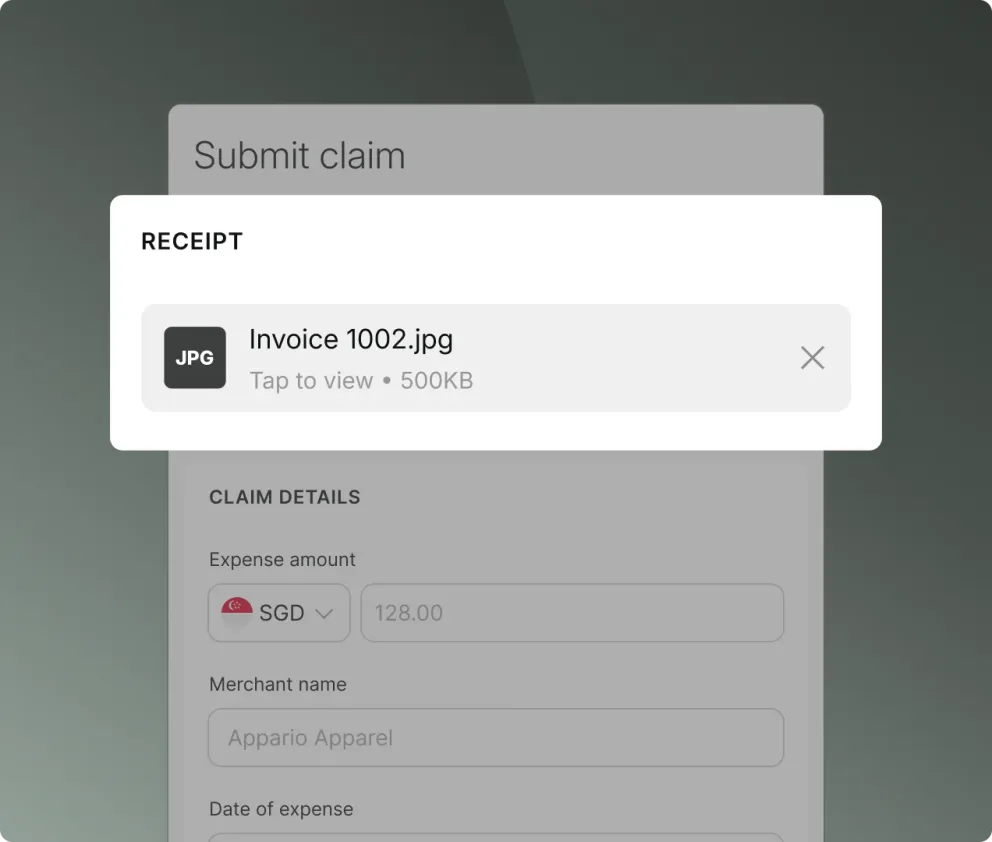
Employees can submit claims in seconds by scanning receipts via the Aspire app. No more missing receipts
Approve
Pay reimbursements directly from your Aspire account so employees get paid faster
Reimburse
Pay claims directly from your Aspire account for quicker payouts
Close your books 2x faster with accounting automations
Sync
Eliminate missing receipts with automated receipt requests
Automate
Use Aspire as a central document repository to store all company expenses and supporting documents
Centralise
Use Aspire as your primary audit trail for all company expenses and documents
Hear it first from our customers

Gregory Van
CEO of Endowus

“As a startup, we needed more flexible solutions to support our increasing needs, as well as ones that’d make the most financial sense in supporting our growth.”
- Saved per year
- $111,000
- Saved per year
- 900hr

Holly Qian
Head of Finance at First Page

“By leveraging Aspire, First Page aimed to establish tighter control over our financial outflows, ensuring that all media spending stayed within the allocated budget limits. This was crucial for maintaining financial discipline and ensuring that our company’s marketing efforts were both effective and sustainable.”
- Saved per year
- $35,320
- Saved per year
- 1,664hrs

William Chong
Finance Director at Glints

“In the past, we used different devices for calls, music, and work. Just like smartphones brought everything together, Aspire elegantly combines corporate cards, FX, business accounts, payables, and much more, into one user-friendly interface.”
- Saved per year
- $73,000
- Saved per year
- 760hrs
Free up time by automating your expense management processes!

FAQ about expense Management
The Sync expense for NetSuite is a feature that allows you to sync any money-out transaction directly from Aspire to NetSuite. You will be able to create Spend money transactions on NetSuite, under the "Bank" > "Cheques module", including all expense details and attachments.
All you have to now do is reconcile the expense on NetSuite!
Any user who has access to the accounting features, i.e. Admins and Finance users can access the Sync expenses feature. However, to set up the connection with NetSuite, you will need an Admin account on NetSuite.
You will be able to review and fill all the fields that you need to create a Spend Money transaction on NetSuite, including the NetSuite expense account, Tax rate, and NetSuite standard classifications, directly from Aspire before you sync a transaction. All values along with the receipts attached to the transaction will be synced with NetSuite.
Currently, only Standard Fields and Classifications (Department, Location and Class) will be synced between Aspire and NetSuite. In case you have custom fields enabled on your NetSuite account, please make sure to make them non-mandatory or set a default value for the custom fields, before syncing your data from Aspire to NetSuite.
For step by step process on how to go about this, read here
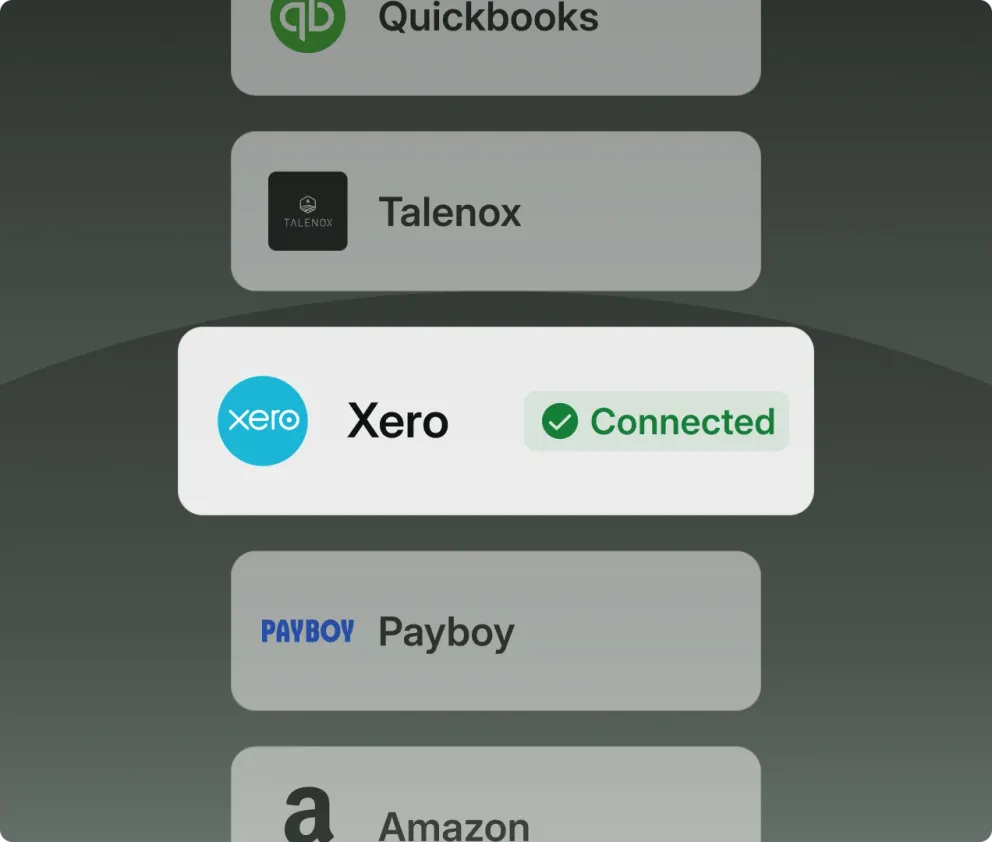
The Sync expense for Xero is a feature that allows you to sync any expense directly from Aspire to Xero. You will be able to create Spend money transactions on Xero, including all expense details and attachments.All you have to now do is reconcile the expense on Xero!
Any user who has access to the accounting features, i.e Admins and Finance users can access the Sync expenses feature
You will be able to review and fill all the fields that you need to create a Spend Money transaction on Xero, including the Xero account, Tax rate, and Xero tracking categories, directly from Aspire before you sync a transaction. All values along with the receipts attached to the transaction will be synced with XeroFor step by step process on how to go about this, read here
By using the Export Data feature in your Aspire account, you can seamlessly integrate your Aspire data with Zoho Expense for efficient reconciliation, data tracking and auditing, and reporting.
The Export Data feature allows you to export expenses (money out) data. Follow the steps by steps below to learn more:
Navigate to "Export Data" on Aspire and select "Money out"
Select the relevant filters in case you want to filter the data for your export, and then select the "Zoho expenses" to export your statement
Open Zoho
Click the Expenses module on the left sidebar.
Click the hamburger icon (next to the gear icon) on the top right corner and select Import Expenses
Choose the file that needs to be imported. This file can be in TSV/CSV/XLS format
Match the fields in Zoho Invoice with the fields in your file and hit the Next button
If all the fields match perfectly, the system would show a message saying the same, after which you can click the Import button to finish the process
In case there is any mismatch, the system will notify you with a message. You can go back and match the file, or you can make changes in the file and import it again.
Start your journey with Aspire
Open your free account